How to Embed Fonts in PowerPoint
Using custom fonts in PowerPoint presentations is one of the best ways to make your slideshows look more professional and stand out from the crowd. But, what if you have to share the PowerPoint file with a team that doesn’t have those same fonts installed on their computers?
Don’t worry, there’s a quick and painless solution to this problem. In this guide, we’ll show you exactly how to embed fonts in PowerPoint so that you can share your presentations without having to worry about font issues ever again.
Keep reading to find out how it’s done.
2 Million+ PowerPoint Templates, Themes, Graphics + More
Download thousands of PowerPoint templates, and many other design elements, with a monthly Envato Elements membership. It starts at $16 per month, and gives you unlimited access to a growing library of over 2,000,000 presentation templates, fonts, photos, graphics, and more.


Why Embed Fonts in PowerPoint?
Whether you’re a freelance designer who crafts PowerPoint slideshows for clients or you’re working with a team to create a presentation for an event, learning how to embed fonts in PowerPoint presentation can help you avoid a lot of painful problems.
When using third-party fonts in your PowerPoint slideshows, one thing many users forget is that if the other member of your team or client doesn’t have that exact same font installed on their computer, the whole slideshow presentation ends up looking like a hot mess when they try to edit the file.
Microsoft added a very useful feature to help professionals avoid this problem by allowing users to embed fonts with PowerPoint files.
This way, you can embed the fonts you use in each of your slideshows so that when you share the file with someone who doesn’t have the custom font installed on their computer, they can still edit and customize the PowerPoint presentation without any font issues.
3 Things to Do Before Embedding Fonts
Before you embed any font on a PowerPoint file, you also need to follow a few rules to avoid running into any trouble.
1. Use Great Fonts
What’s the point of using custom fonts in your presentations and forcing your clients to use them if they look terrible than the default fonts.
Make sure that you only use the best fonts with professional designs in your presentations. You can check out our roundup of best fonts for presentations to find inspiration.
2. Check the Font License
Depending on the type of presentation you’re designing and the purpose of your presentation, you should also always check for the licensing of the font you’re using before embedding them in your PowerPoint file.
For example, if you’re designing a PowerPoint presentation for a corporate client, you should only use fonts that comes with a commercial license. And if you’re planning on selling your PowerPoint presentation as a template, you must have distribution rights to embed the fonts in your template as well.
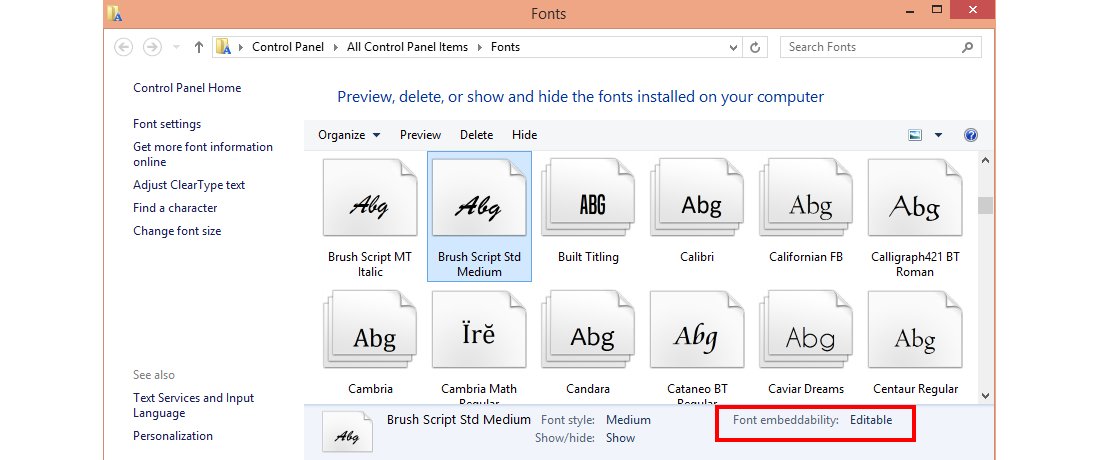
Keep in mind that not all fonts can be embedded. Font creators can set rules to disable font embedding and it’s common with free fonts that come with personal use licenses.
3. Embed the Right Font Files
When you download a font from a third-party website or a marketplace, it comes packaged with multiple font files with OpenType fonts (OTF), TrueType fonts (TTF), Web Fonts, and more.
If you plan on attaching fonts separately alongside the PowerPoint file, Make sure to include the right font file in PowerPoint. For example, if you’ve used stylistic characters or alternate characters like glyphs and ligatures in your slideshow, you should include the OpenType font file.
Microsoft also recommends that you use OpenType fonts when embedding in PowerPoint as they help reduce file size.
How to Embed Fonts in PowerPoint Slideshows
Embedding fonts in PowerPoint is quite easy and it can be done in just a few clicks. To Embed the font, simply open the PowerPoint slideshow file you’re working on and follow the steps below.

- Go to the File menu and select Options
- Switch to Save tab
- Scroll all the way down to find a section called “Preserve fidelity when sharing this presentation”
- Tick the checkbox for “Embed fonts in this file” and select “Embed all characters” option.
- Click OK to save the changes.
That’s it! The app will now automatically embed the fonts in your PowerPoint file.
Alternative Method for Attaching Fonts
If you want to attach a font in an email or include the fonts separately with your presentation for others install on their computer and use, you can do so by downloading and attaching the font manually.
The first thing you need to do is to download the font file from the marketplace where you bought it and on to your computer.
This downloaded file will arrive as a ZIP file. Right-click on the ZIP file and select UnZIP to extract the files of the package.
In the extracted folder you’ll find multiple files. You’ll want to look for the TTF and OTF files, these are the font files you need to embed in PowerPoint.
If you want to embed a font that’s already installed on your computer, you can copy it from your computer as well.
On a Windows PC, go to Settings >> Personalization >> Fonts and then search for the font you’re using in the slideshow and copy it and paste it anywhere on your computer to create a copy of the font file.
In Conclusion
Hopefully, by learning how to embed fonts in PowerPoint you’ll be able to avoid a lot of confusions and issues down the road when designing professional presentations.
Don’t forget to take a look at our full PowerPoint templates guide, or our collection of the best PowerPoint templates for your next project!