How to Make a Flyer for an Event (Using a Template)
Event flyers can be fun projects that give you a little more freedom with your design. Many events come with a design style of their own, providing ample opportunity to bend or break some of your brand rules.
The downside to event flyer design is that it often comes with tight turnarounds. So how do you make a flyer for an event quickly, that is designed well?
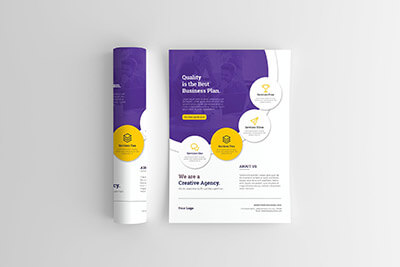
Start with a template. Here, we’ll take you through everything you need to know to create an event flyer from a template, from thinking about content to preparing the file for printing. We’re going to use a template from Envato Elements.
1 Million+ Flyer Designs & Templates, Print Templates & Mockups With Unlimited Downloads
Download thousands of beautiful flyer templates, flyer mockups, and stunning print templates with an Envato Elements membership. It starts at $16 per month, and gives you unlimited access to a growing library of over 2,000,000 design assets, themes, photos, graphics, and more.

Gather Your Materials and Event Design Must-Haves
Before you even start thinking about the design, consider the content for an event flyer. Do you have all the information you need to tell people about the event?
Gather relevant materials to start the visualization process. You may have some or all of the items in this list:
- Text elements
- Photos or illustrations
- Brand or event logos
- Color or font palette
- Links or QR codes
- Sponsor information
Once you’ve gathered everything, it should give you a good idea of what type of template you need. Having these answers up front can save a lot of time later because the template you choose will be more likely to work with your event content.
- Does it need to accommodate photos or a lot of text?
- Is there a certain mood or theme the flyer should convey?
- Does it need to have a high-visual presence because you are short on assets?
Search for a Template
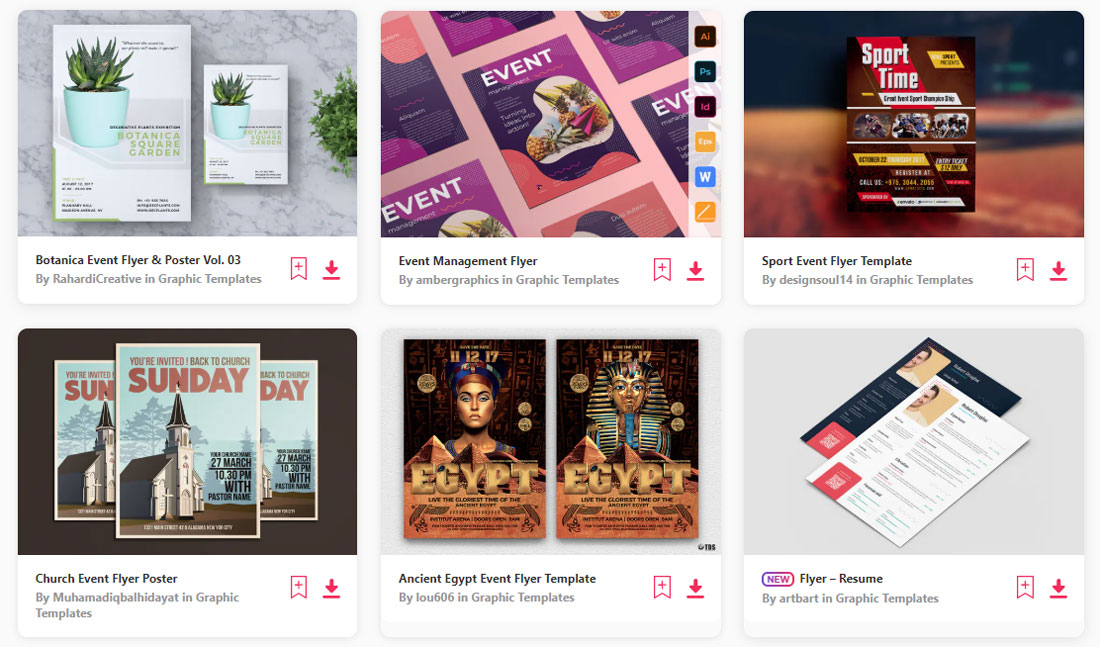
The next step is the fun part. Search for a template that you think will match the tone and style of your event.
The key to a usable template is picking a template that is compatible with the software you are comfortable with and already use. Most templates come in a variety of options and work in anything from Google Docs or Microsoft Word to Adobe Photoshop, Illustrator, or InDesign.
Look for a template that will work at the size you need. Remember, you can scale up the size of a vector event flyer but not a raster design.
Once you find a template that meets all of your needs, download the file and get started. Note that you might need to download fonts as well. Check the template notes and documentation unless you know that you will be using specific fonts that aren’t necessarily a part of the template design.
Adjust the Template for Size and Bleed
Before you get too far into the design, check the size and bleed specifications of your downloaded design template to the printing template.
You may have to adjust some of these settings to get a better print job.
If you downloaded a template in a different size than what you need (maybe A4 versus letter), adjust the document size before you get started. This will save you from headaches later.
Pro tip: If you need the flyer in multiple sizes, such as 11 inches by 17 inches and 8.5 inches by 11 inches, design the larger size first and then past the design into the smaller size and scale. (You can also delete unneeded elements on the smaller size.)
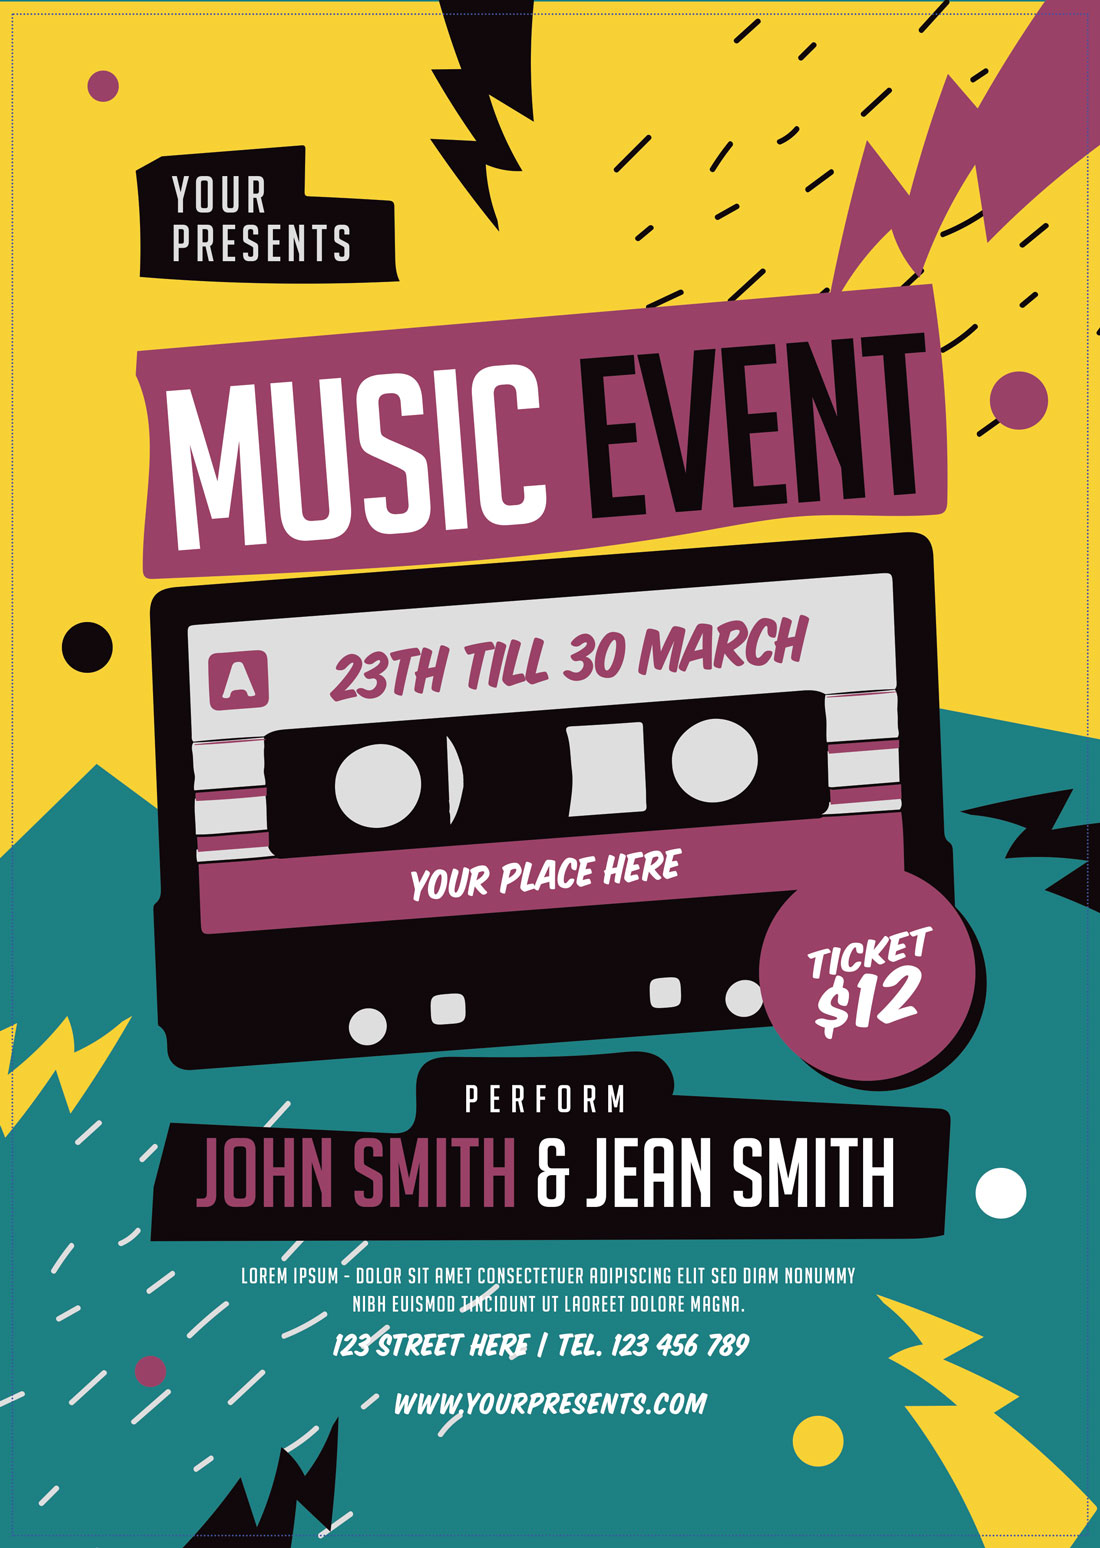
Customize Flyer Template Elements
Once you have the size specifications in order, it’s time to really make the flyer template design your own.
Start by saving the template as a new file. That way you can always refer back to the original if needed.
Then substitute brand elements, such as the font or color palette. Strip out template elements that you don’t need, such as text boxes or design elements. It’s also a good idea to replace all text at this point with something you will remember to change, such as highlighting or “xxgggxxx.” (Nothing is worse than using a template and leaving the dummy text in all the way through printing.)
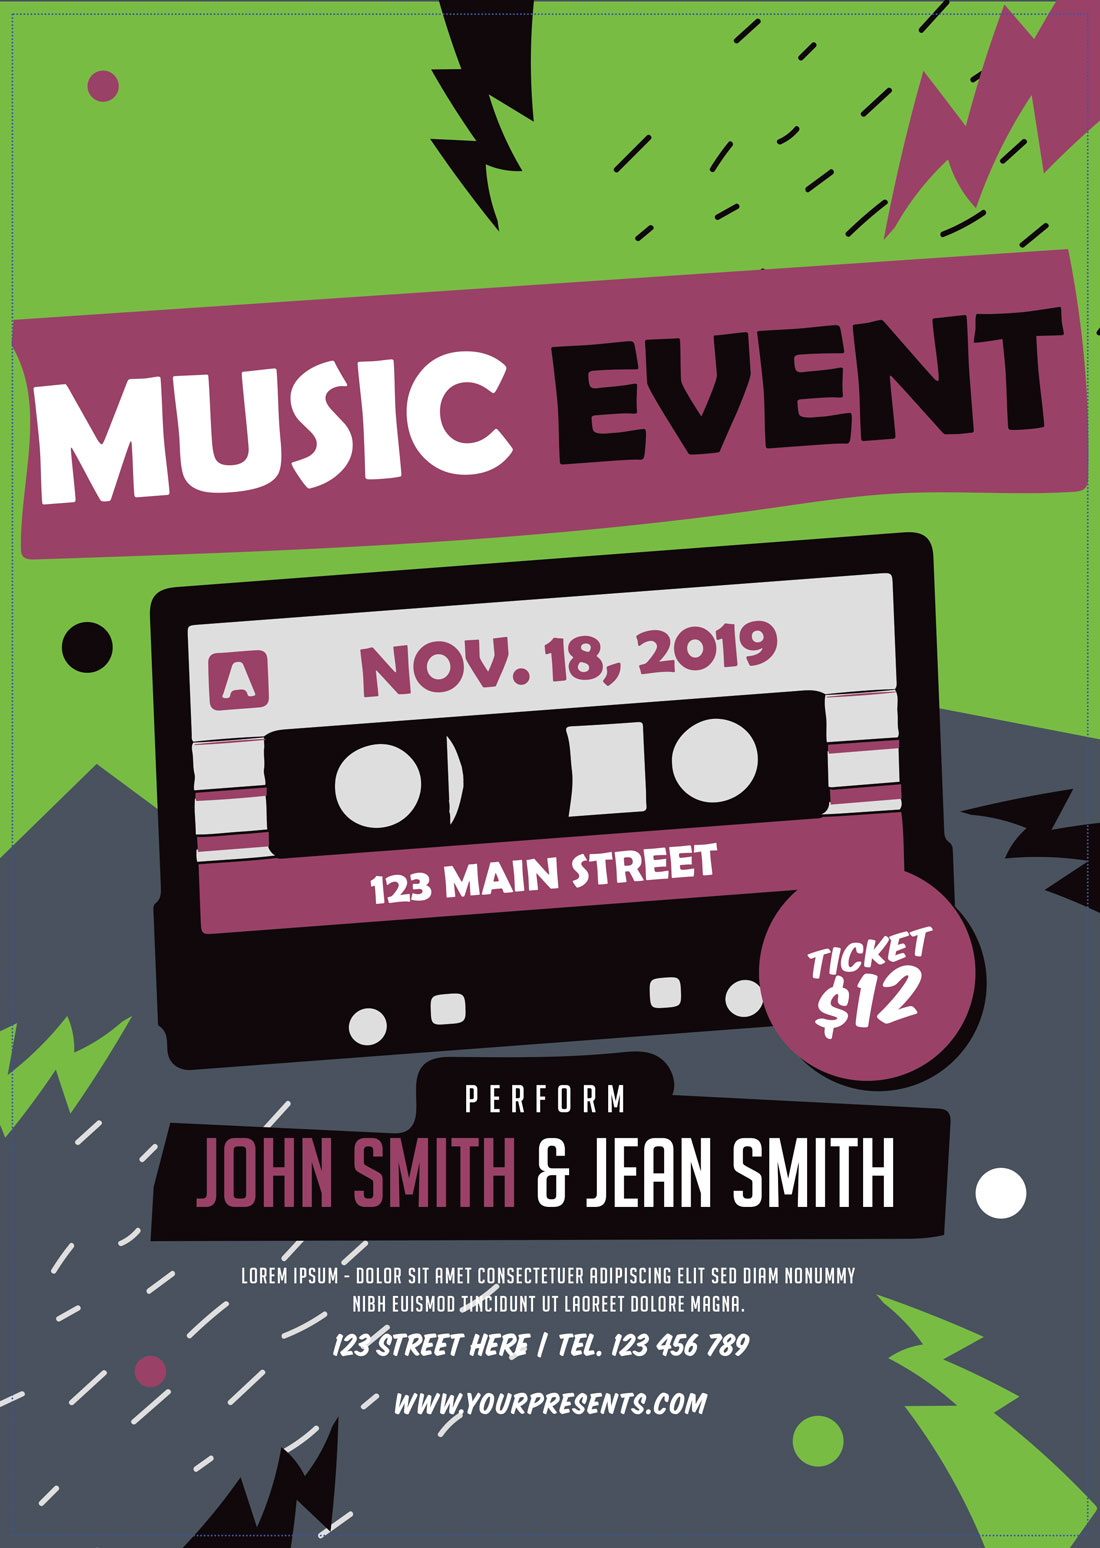
Put in your text and images to turn the template into a flyer for your event.
Don’t forget to check — and doublecheck — key elements in the flyer design as you finish:
- Date
- Time
- Location
- Contact information
- Replace photos with your own
- Spelling
Package the Flyer for Printing/Distribution
Finally, you want to get the flyer design prepped and ready for printing. The exact method can vary depending on the software you are using and how and where you plan to print.
Options include printing the flyer yourself, using a local print shop, or uploading the file to an online printer and having the final flyers shipped to you.
Another option? Digital publication. You might use an event flyer design in the digital space by posting it online or on social media, providing others with a downloadable PDF, or publishing it as part of an email campaign.
The one commonality is that all of these options require you to prep the final file for the publication and distribution method that you intend to use.
Output the design and package files according to printer specifications. (It’s a good idea to get these in advance and keep them in mind during the design process.) Specifications include bleed and color processing information. Different printers may also ask for specific file types or package files.
Digital use of flyers typically requires a PDF or JPG output. (Just make sure to check color settings and export as RGB.)
Conclusion
Creating an event flyer can be as complicated or as simple as you make it. If you need to get started and finished in a hurry, or are struggling with design inspiration, a template is the way to go.
Need a little flyer design or template inspiration? You can find it here.